Contemplating coverage?
Subscribe to receive our emails & get
$200 OFF!
Have questions?
Call us: (833) 544-8273


Written By Rachel Cherem
Caulking a shower is one of the most important maintenance tasks you can do to keep your bathroom in top condition. Over time, the caulk around your shower can deteriorate due to moisture, soap scum, and regular use. If left untreated, gaps or cracks in the caulk can allow water to seep into the walls, leading to mold growth, water damage, and costly repairs.
If you’ve been wondering how to caulk a shower properly to maintain its appearance and prevent leaks, you’re in the right place. In this guide, we’ll take you through the process step-by-step, helping you achieve a professional watertight seal that will keep your shower looking fresh and functional.
First, gather all the necessary tools and materials. Having everything on hand will make the job go smoothly and ensure you get the best results.
Now that you’ve gathered your materials, let’s walk through the process of how to caulk a shower properly. With a little patience and attention to detail, you can restore your shower’s seal and enhance its appearance.
The first step in caulking your shower is to remove any old, damaged caulk. This ensures a clean surface for the new caulk to bond with. Here’s how to do it:
Before applying the new caulk, you’ll want to ensure that the surface is clean and dry. This step is crucial for a proper bond between the caulk and the shower surface.
For a neat and professional-looking finish, you’ll want to tape the edges of the area where you’ll be applying the caulk. This helps ensure you get a straight, even line.
Once the area is prepped, it’s time to load the caulk gun. To do this:
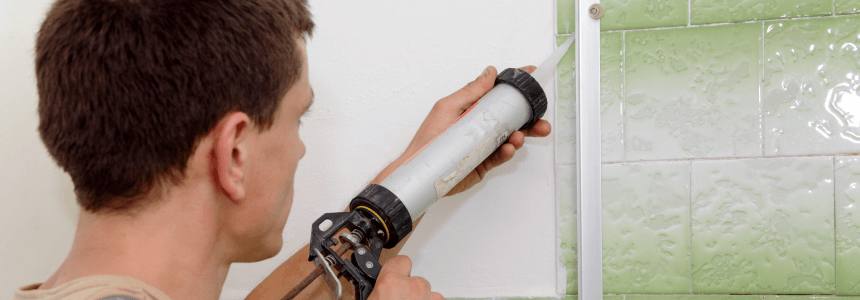
Now, it’s time to apply the caulk. You’ll want to apply it smoothly and consistently to ensure an even seal.
Pro Tip: Work in small sections if the joint is long, as this will help prevent the caulk from drying before you can smooth it.
Once the caulk is applied, you’ll want to smooth it out to create a uniform finish.
Pro Tip: If the caulk starts to stick to your finger, dip it in water or rubbing alcohol to keep it smooth and prevent it from smearing.
After you’ve smoothed out the caulk, carefully remove the painter’s tape before the caulk dries.
Once you’ve finished applying and smoothing the caulk, it’s important to give it time to cure.
Here are a few extra tips to help you get the best results when caulking a shower:
Choose the Right Caulk. Always opt for 100% silicone caulk for showers and bathrooms. It’s water-resistant, mold-resistant, and flexible, making it perfect for high-moisture areas.
Work in Small Sections. If you’re new to caulking, it’s better to work in small sections. This allows you to focus on getting a clean, precise finish.
Don’t Rush. Take your time when applying and smoothing the caulk. A little patience goes a long way in ensuring a flawless result.
Check for Gaps. After the caulk has dried, check for any gaps or areas that need touch-ups. It’s better to fix them while the caulk is fresh.
Now that you know how to caulk a shower, you can confidently tackle this DIY project to maintain your bathroom’s appearance and prevent water damage. Properly caulking your shower ensures that water stays where it should, protecting your walls and floors from moisture damage and mold growth.
If you’re not sure about doing the job yourself or need help with other home maintenance tasks like common bathroom and shower issues, Liberty Home Guard is here to offer expert advice and home warranty services. Learn more about our home warranty plans that can help protect your home and appliances, so you can focus on enjoying your shower without worry.
There’s a reason Liberty Home Guard was rated the #1 Home Warranty Service by U.S. News and World Report for 2021, 2022, 2023, and 2024. Check out our services.
Learn More100% silicone caulk is best because it’s waterproof, flexible, and resists mold and mildew.
You should wait at least 24 hours for the caulk to cure before exposing it to water.
Yes. All old caulk must be removed for the new bead to adhere properly and create a watertight seal.
Run a wet finger or caulking tool along the bead immediately after applying it to create a clean, even line.
Most showers need re-caulking every 3–5 years, or sooner if you notice cracks, mold, or peeling.
Stay Ahead of Potential
Home Mishaps!
Subscribe to our Liberty Home Guard Newsletter and gain access to exclusive content that ensures your peace of mind.